Monday, May 13, 2013

Liz's and Pab's Diner!

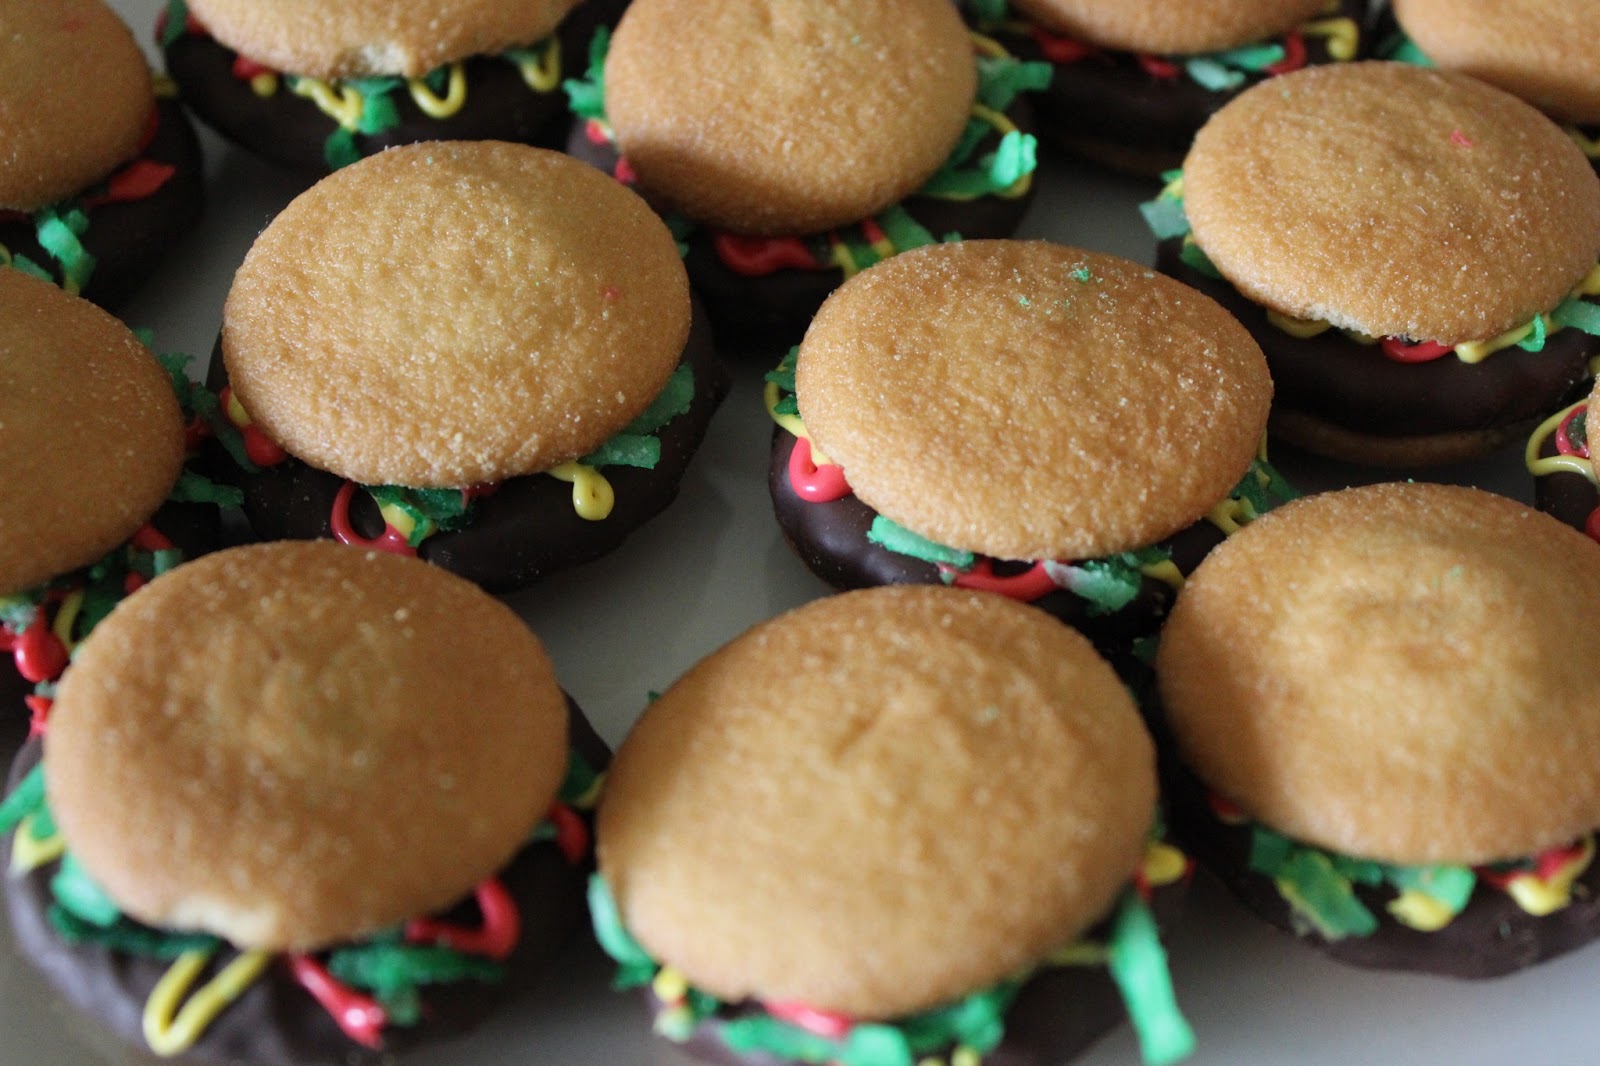
I was invited to a party this past weekend and the theme was burgers without borders. What a cool theme, right! We had four different types of meat: pork, lamp, beef, and chicken. Since the main dishes were burgers, I thought why not make some sweets which looked like burgers with fries! (:


Supplies/Ingredients:
-Vanilla wafers
- thin mints/grasshoppers
- oreo fudge cremes
- sugar cookie mix (or you can make it from scratch)
- sweetened flaked coconut
- frosting
- food coloring: green, red, yellow
- foil cupcake liners
- sandwich bags or pastry bags
Burgers
> You will start by coloring your frosting and coconut
> Take two sandwich bags and fill each up with a good amount of frosting
    (I just eye-balled how much I thought I needed, but I believe 1/8 to 1/4 of a cup
     is a good amount. Plus you can always add more)
> Add 2-4 drops of yellow food coloring to one bag (mustard) 
   & 2-4 drops of red to the other (ketchup)
> In your third bag put in a good amount of coconut 
    (Again, I eye-balled and used a handful. But I think 1/8 to 1/4 of a cup 
     is a good amount)
> Then add 2 drops of green food coloring to your coconut bag (lettuce)

> Next pick out two nice looking vanilla wafers
    (Usually, I just pick out a nice one for the top "bun" because for appearance)
> You can use thin mints or oreo fudge cremes as the patty
    (This depends on your preference. I enjoy the thin mints! (: But my boyfriend 
     doesn't like the flavor of mints to I use orea fudge cremes for him) 
      - just a note the oreo will be sweeter
> Lay one wafer on the opposite side and add some frosting to hold your patty
> Place your thin mints/oreo on top of the wafer & add your condiments (frosting)
> I just make a zigzag design with the yellow/red frosting
    (Since I used sandwich bags, I just cut a tiny bit off of the tip)
> Then you add your lettuce (coconut) on top
> & finish your burger by topping it with another wafer
    -Another nice touch is to add sesame seeds on the top wafer to make it look 
     more like a burger. I just did not have any this time.
> I made a total of 26 burgers but I did have some leftovers. 
    So, I assume you can make 30-40 burgers if you were to use all your supplies. 


French Fries
> You will start by following the instructions of the sugar cookie mix 
    or make your own from scratch
> Get a cookie sheet pan and lay out foil and spread some butter on the foil
> Just spread the batter out flat on the sheet and check on it every 3-5 mins since
    it is thinner than cookies
> You can also add yellow food coloring to the batter if you want a more yellow
    color to the fries, but I think the natural color of the sugar is more realistic 

> Take the sheet out of the oven & cut right away when the cookie is still warm
    (This is because it will be easier and will not crumble when you cut them)
> Just cut them to look like fries and also proportional to your burgers 


Time to decoration!
Supplies: 
- foil cupcake liners
- checker printed wrapping paper
- twine
- mailing labels
- party baggies

> So any little touches will make your sweets extra cute! (:
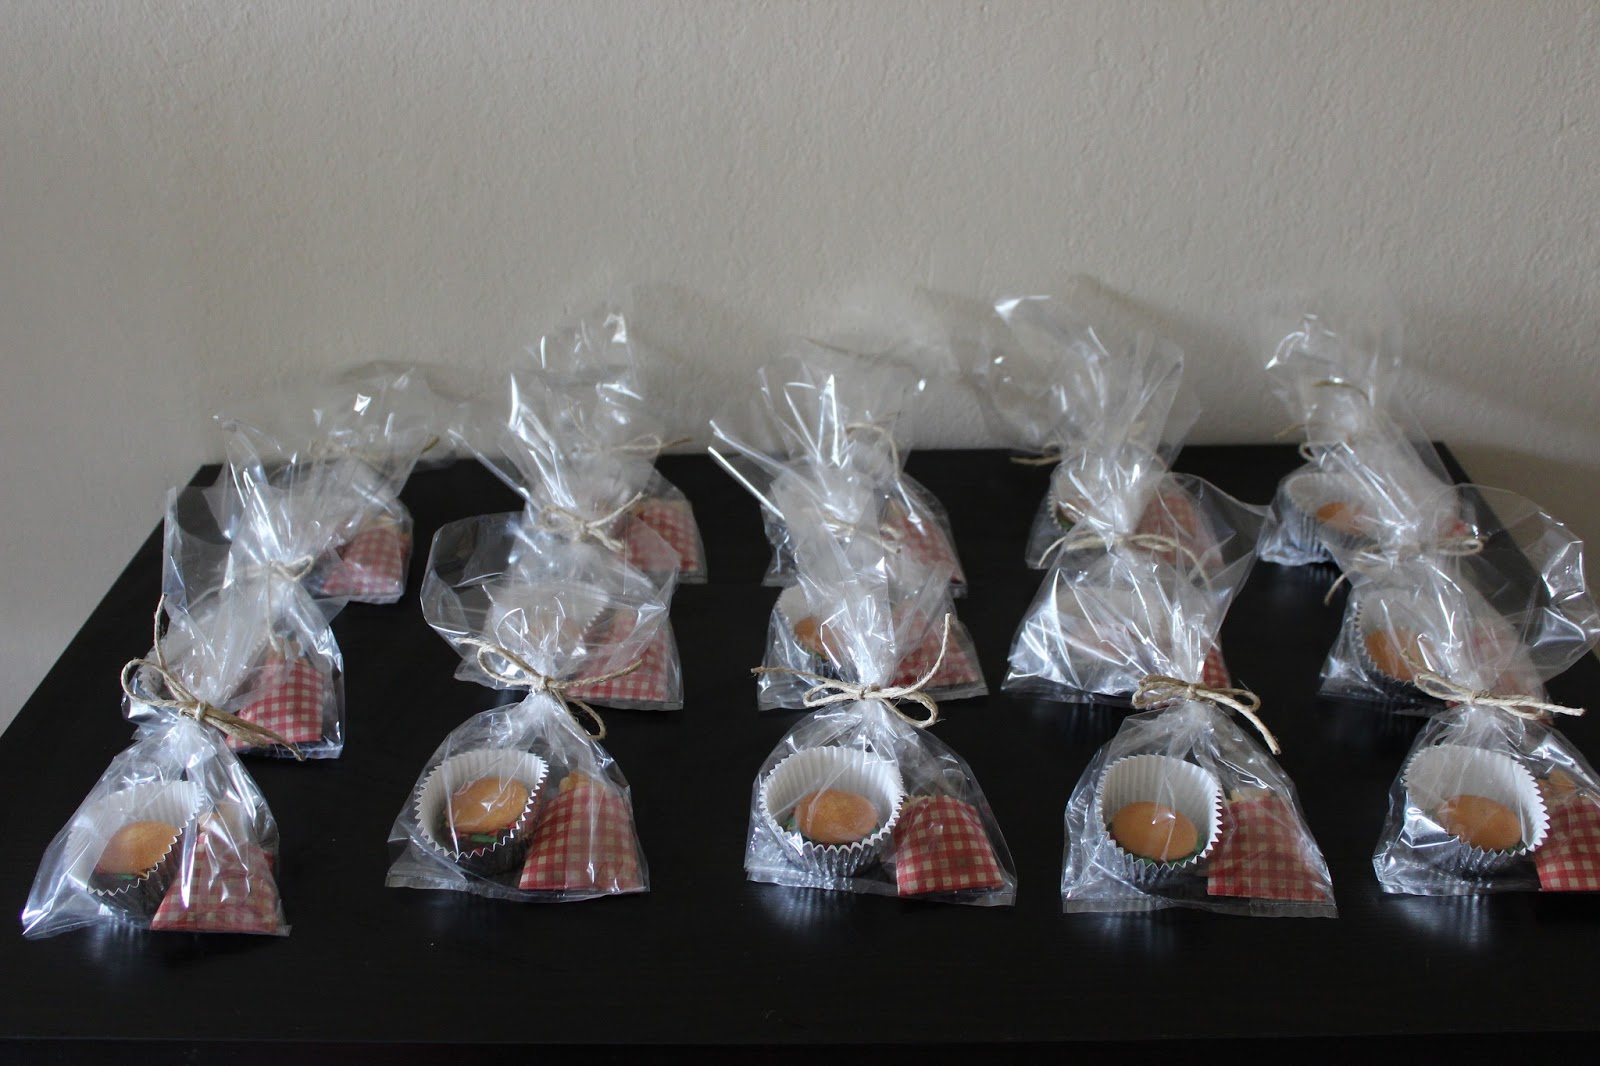
> I put the burgers into the foil cupcake liners so it looks like the burgers
    are wrapped in foil just like fast food joints!
> For the fries, I just used some wrapping paper and folded into a simple 
    pocket to hold the French fries.
> I also purchase some plastic baggies to put the sweets in 
   & just tied it with some twine! 
> Pablo made a label for the baggies which tied the whole project together! 


Sunday, May 5, 2013

Spring Splash 2013.

Walk The Fken MOON!! they were amazinggg!! 


flag shirt - thrifted!!
my flag shorts - diy project <click here>


the view on top of the ferris wheel <3


Sunday, April 28, 2013

name in lights.


Here's a DIY project Pablo and I did a while back for my birthday and I would like to share it with you guys!

Supplies needed:
> card board box
> globe lights (xmas lights would work just as fine)
> scissors & exacto knife
> ruler & pencil  
> twine 

I would advise you that use moving boxes, because it would be thicker and more sturdy.  Just start by taking the box apart so you can lay it out flat. Then you can start tracing/drawing your name or any word you desire. We decided to free-hand the letters so we just used a ruler to draw out LIZ. There is another option if you want your name to be more fancy. You can go into your word document, choose a font, resize as big as you want and then print it out to use as your template. After the letters are traced just use an exacto knife to cut it, please be careful and take your time. You can then plan out how you would like your lights to fit on each letter. I decided that I wanted spaces between each light, so I place the lights where I would like it and simply just use the pencil to mark where I need to make a hole. To make your holes, use the scissors to poke a hole through. Be careful for this step, you can always make a hole bigger but you cannot make it smaller. So depending on the lights you use, plan accordingly when you poke your holes. You're almost done! Now just unscrew your lights and place them into the hole and screw the wire in the back so it secure the lights. You can either leave this on the floor and just plug it in to check out your new sign or you can use some twine to hang it up, just like we did. I hope my instructions were helpful and easy to follow! Good luck with your own DIY signs!


Thank you for stopping by and happy DIY-ing! (: 


Sunday, March 31, 2013

haul 001

Hello I am back with yet another haul! (: Everything was purchase at a local swap meet and the total was under $25... SHUT THE FRONT DOOR, RIGHT?! haha

- high waisted boot cut jeans
- high waisted shorts with buttons details
- sheer floral maxi skirt


- horizontal striped button down
- mustard and navy, thick flannel 

-short sleeve gingham button down with doggies

- soft yellow, short sleeve knit


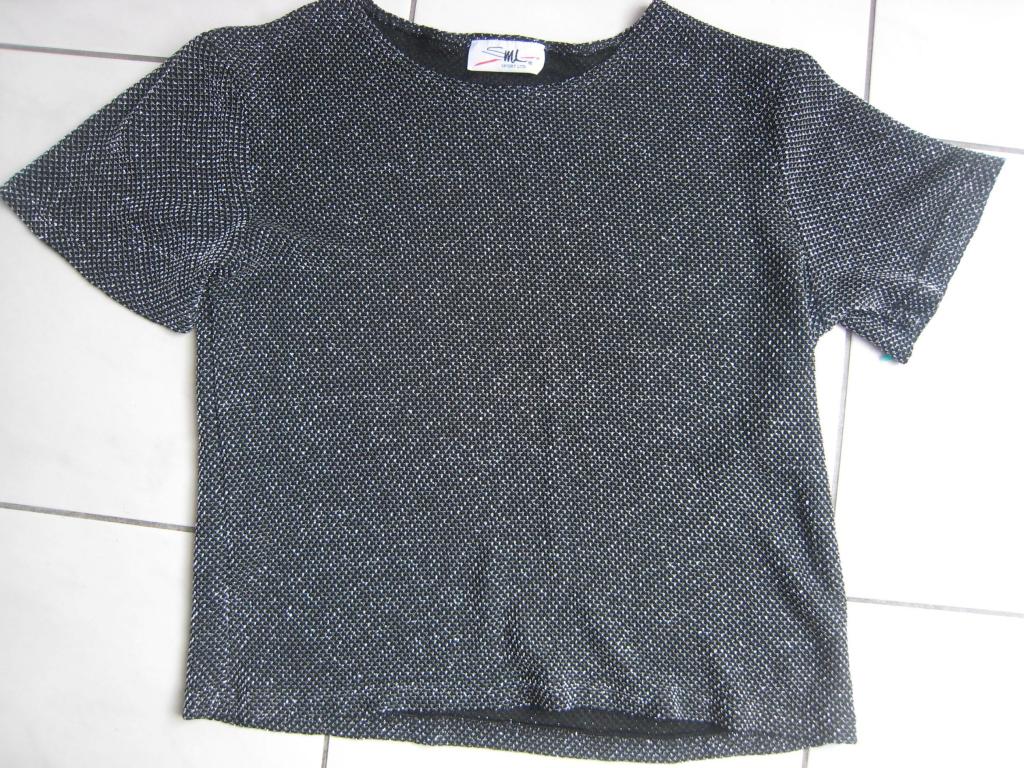
- metallic, cable threaded top


- Lord Nelson Ware, England tea cups


- clear tea cups
p.s. I've always wanted these! (:


- glass bottles with metal clasp & ceramic stoppers


Wednesday, March 27, 2013

Crystal Cove

My friends and I enjoyed an afternoon hike at Crystal Cove. The view of Newport beach was breathtaking. It was a sunny but breezy day so hiking was very enjoyable. We hiked a total of five miles!!! Also the other hikers were very friendly, they would smile or say hello to us and we would greeted them back (:


That's me on the right, tie-dyed tee with the long pony tail! I really need a trim(: 

The white flowers (on the left) which are California everlasting smell like maple syrup! (:
There were certain parts of the hike that we could smell the syrup, YUM!   


Isn't the view amazing!!